



Teacher Portal
Instructional videos
Part 1: Understanding the Curriculum
Part 2: Teaching the Curriculum
Supplemental Resources
- 12 Amy Carmichael Chant, Recitation
- 12 Cover Page
- 12 Fourteen Ninety-two Song
- 12 Parent Letter
- 12, 21 American History Recitation – Student
- 12, 21 American History Recitation – Teacher
- 12, 21 Blackline Map – The World
- 12, 21 Continents and Oceans Song
- 12, 21 Continents Poem
- 12, 21 North Pole South Pole
- 12, 21 North South East & West
- 12, 21 Setting of Our Room
- 12, 21 World History Recitation – Student
- 12, 21 World History Recitation – Teacher
- 12, 21 American History Recitation – Student
- 12, 21 American History Recitation – Teacher
- 12, 21 Blackline Map – The World
- 12, 21 Continents and Oceans Song
- 12, 21 Continents Poem
- 12, 21 North Pole South Pole
- 12, 21 North South East & West
- 12, 21 Setting of Our Room
- 12, 21 World History Recitation – Student
- 12, 21 World History Recitation – Teacher
- 21 A Mighty Fortress
- 21 America Today – Songs
- 21 Dirk Willems MiniBooklet
- 21 My Family
- 21 Parents Letter
- 21 Titanic Drawing
The PowerPoint files included for most units provide material for extra enrichment and review. They are not required for teaching the curriculum, but are provided as an optional supplement. PowerPoint files will automatically download to your device’s default download folder when you click a PowerPoint link.
“Editable” test files are Microsoft Word documents (the standard test files are .pdf files). If you would like to add, remove, or change test questions, these files are provided to make that easier for you.
Mind maps or webs are a highly effective review method for Living History Threads (and other classes, too!). Mind maps help students identify the most important pieces of information in a story, and guide students in preparing for the essay questions on the tests.
How to use mind maps
-
We recommend taking a few minutes at the end of each class period to create a mind map to help reinforce the key content from the lesson. You could also take a take one or two breaks as you read the story to add pieces to your mind map.
-
Each student should have a blank mind map sheet – two versions included in the Student Notebook files below. We recommend using the version with illustrations whenever feasible, as this gives students an additional way to engage with the content they are learning. It often works well for students to draw a picture as they listen to the story.
-
Have students print the name of the key person or event from the day’s lesson on the dotted line at the top of the page (or type this before printing the page).
-
On your chalkboard or whiteboard, write the name of the main person or event from the lesson and draw a circle or cloud shape around it. Students should do the same on their mind map sheets.
-
Ask students to list key pieces of information about this person or event. Each fact should be written on the board around the main idea, circled, then connected to the main idea with a line. As you do this on the board, students should do the same on their mind map sheets. Information should be ordered sequentially, working clockwise around the main idea.
-
At the end of this activity, each student should have a cluster or web of information, as pictured below.
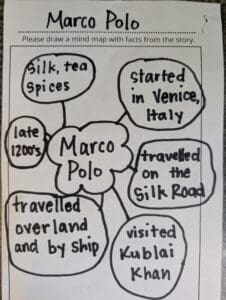
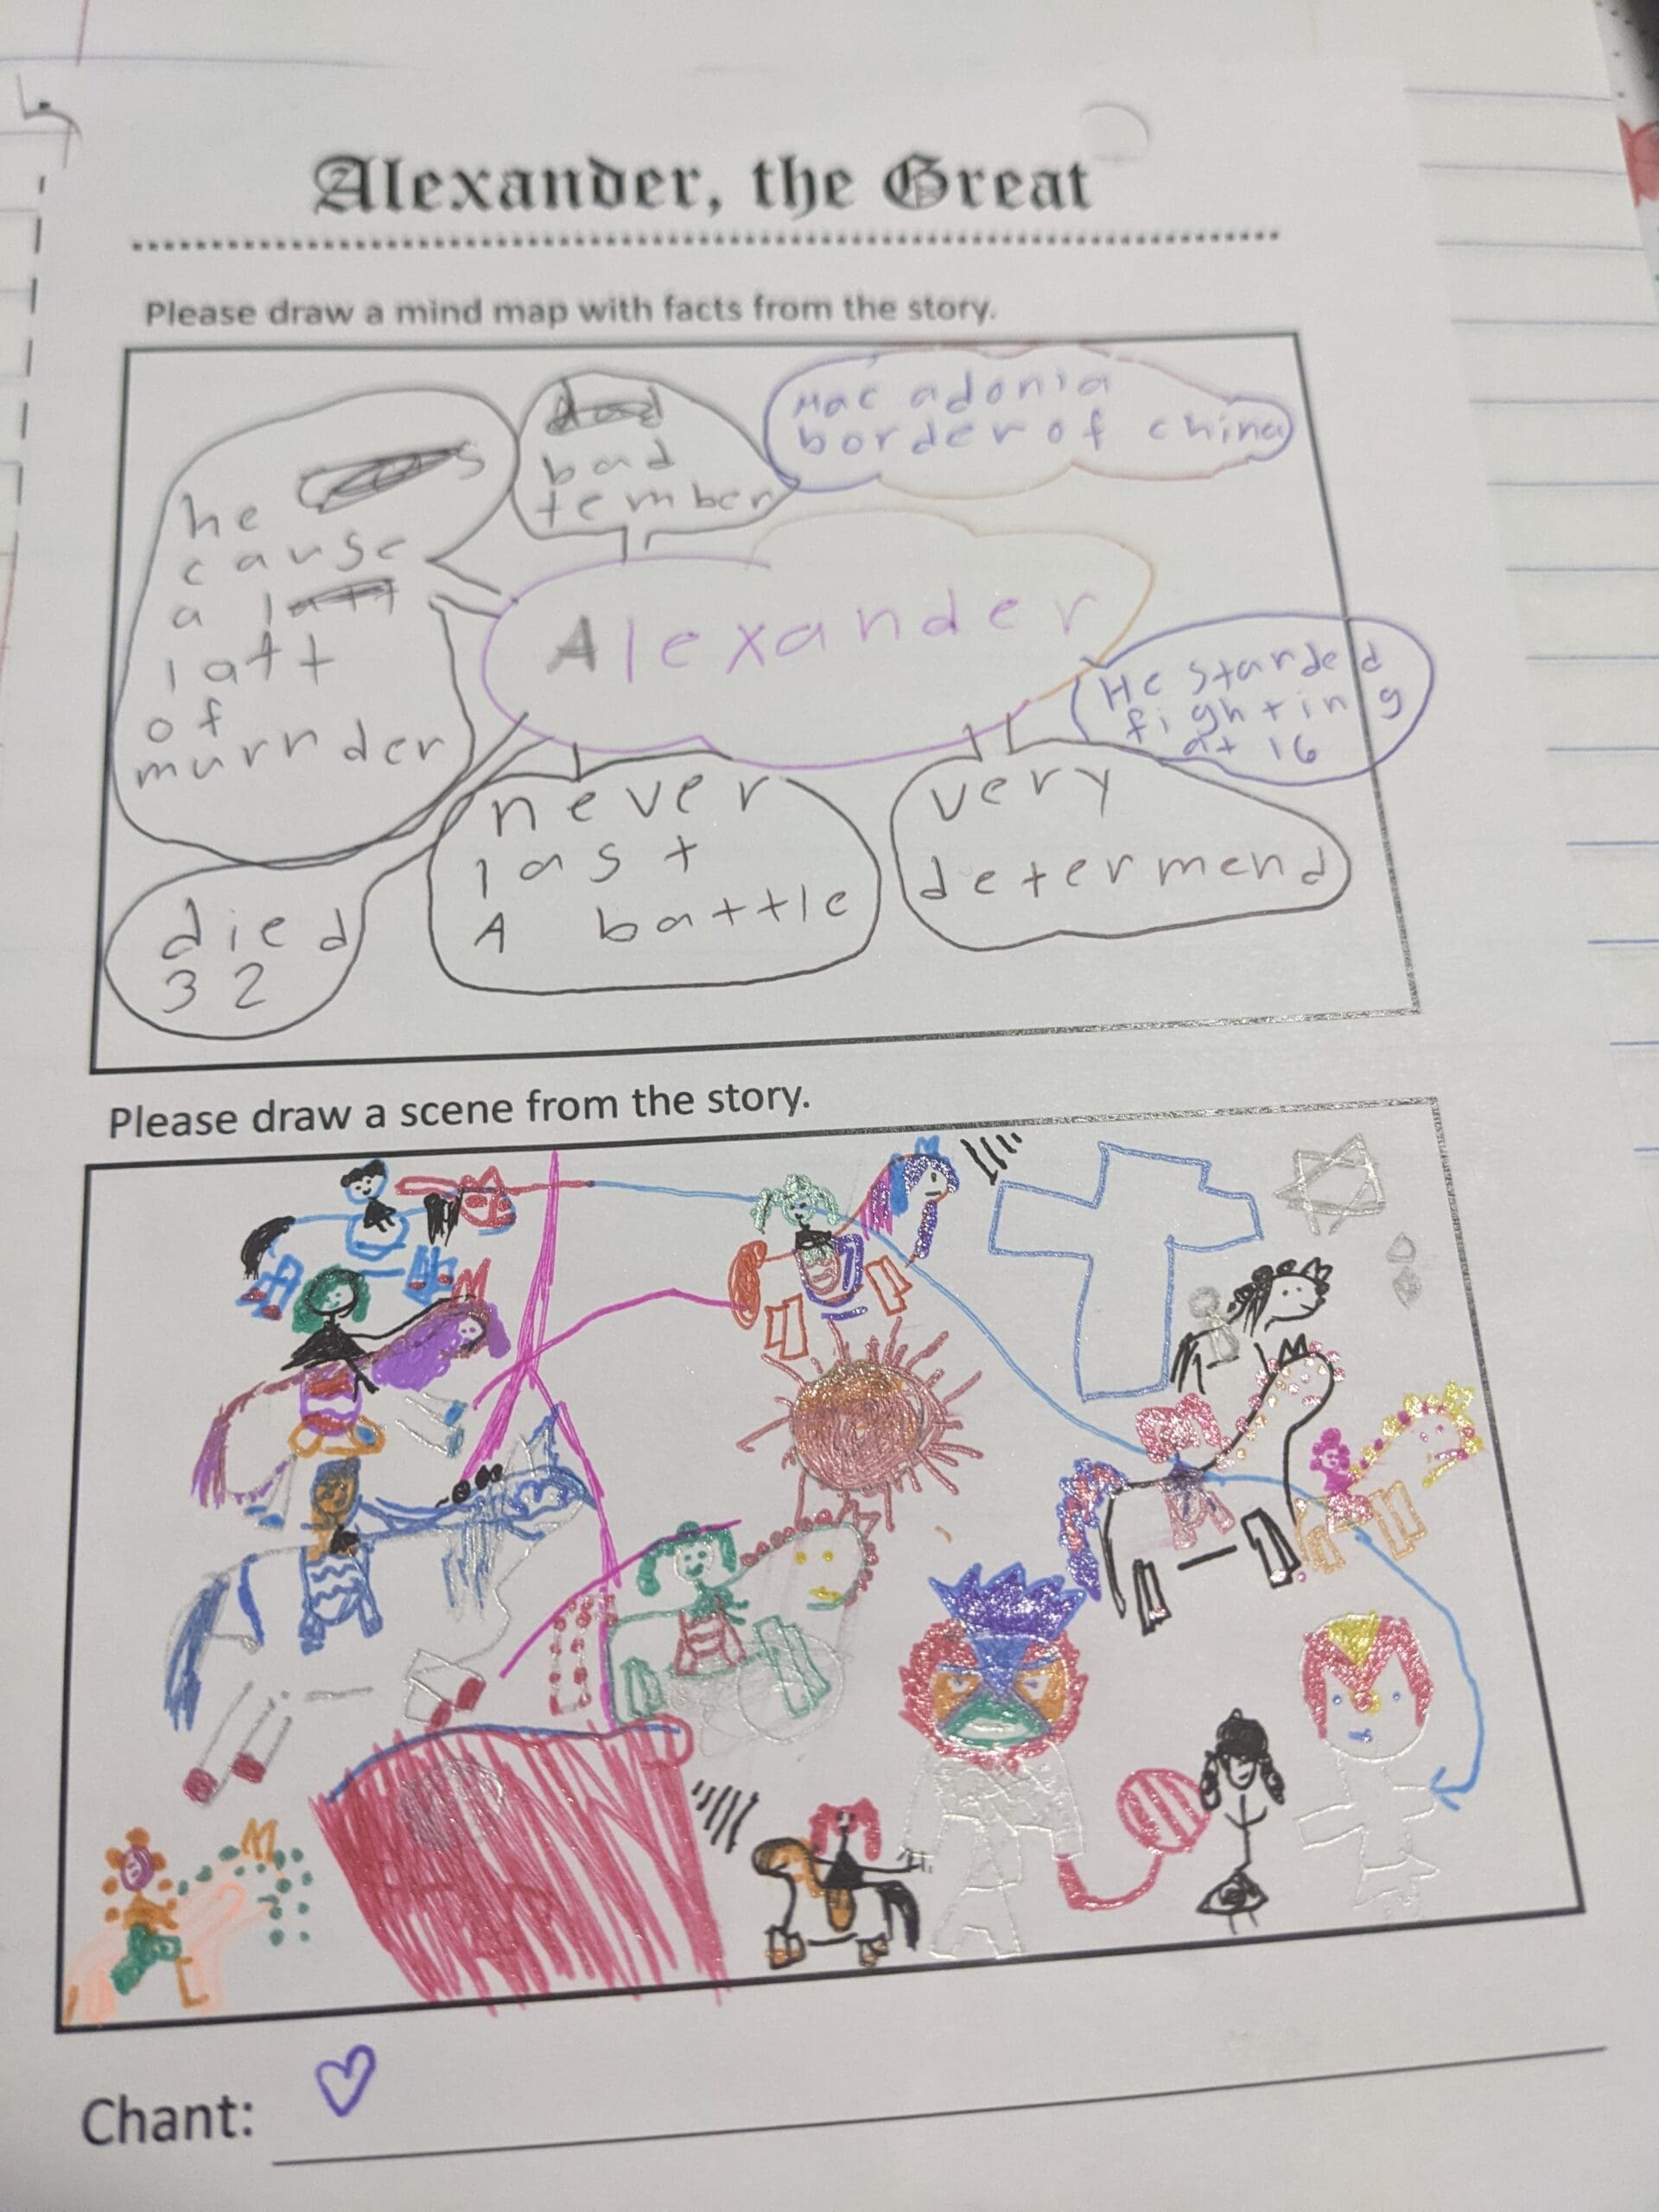
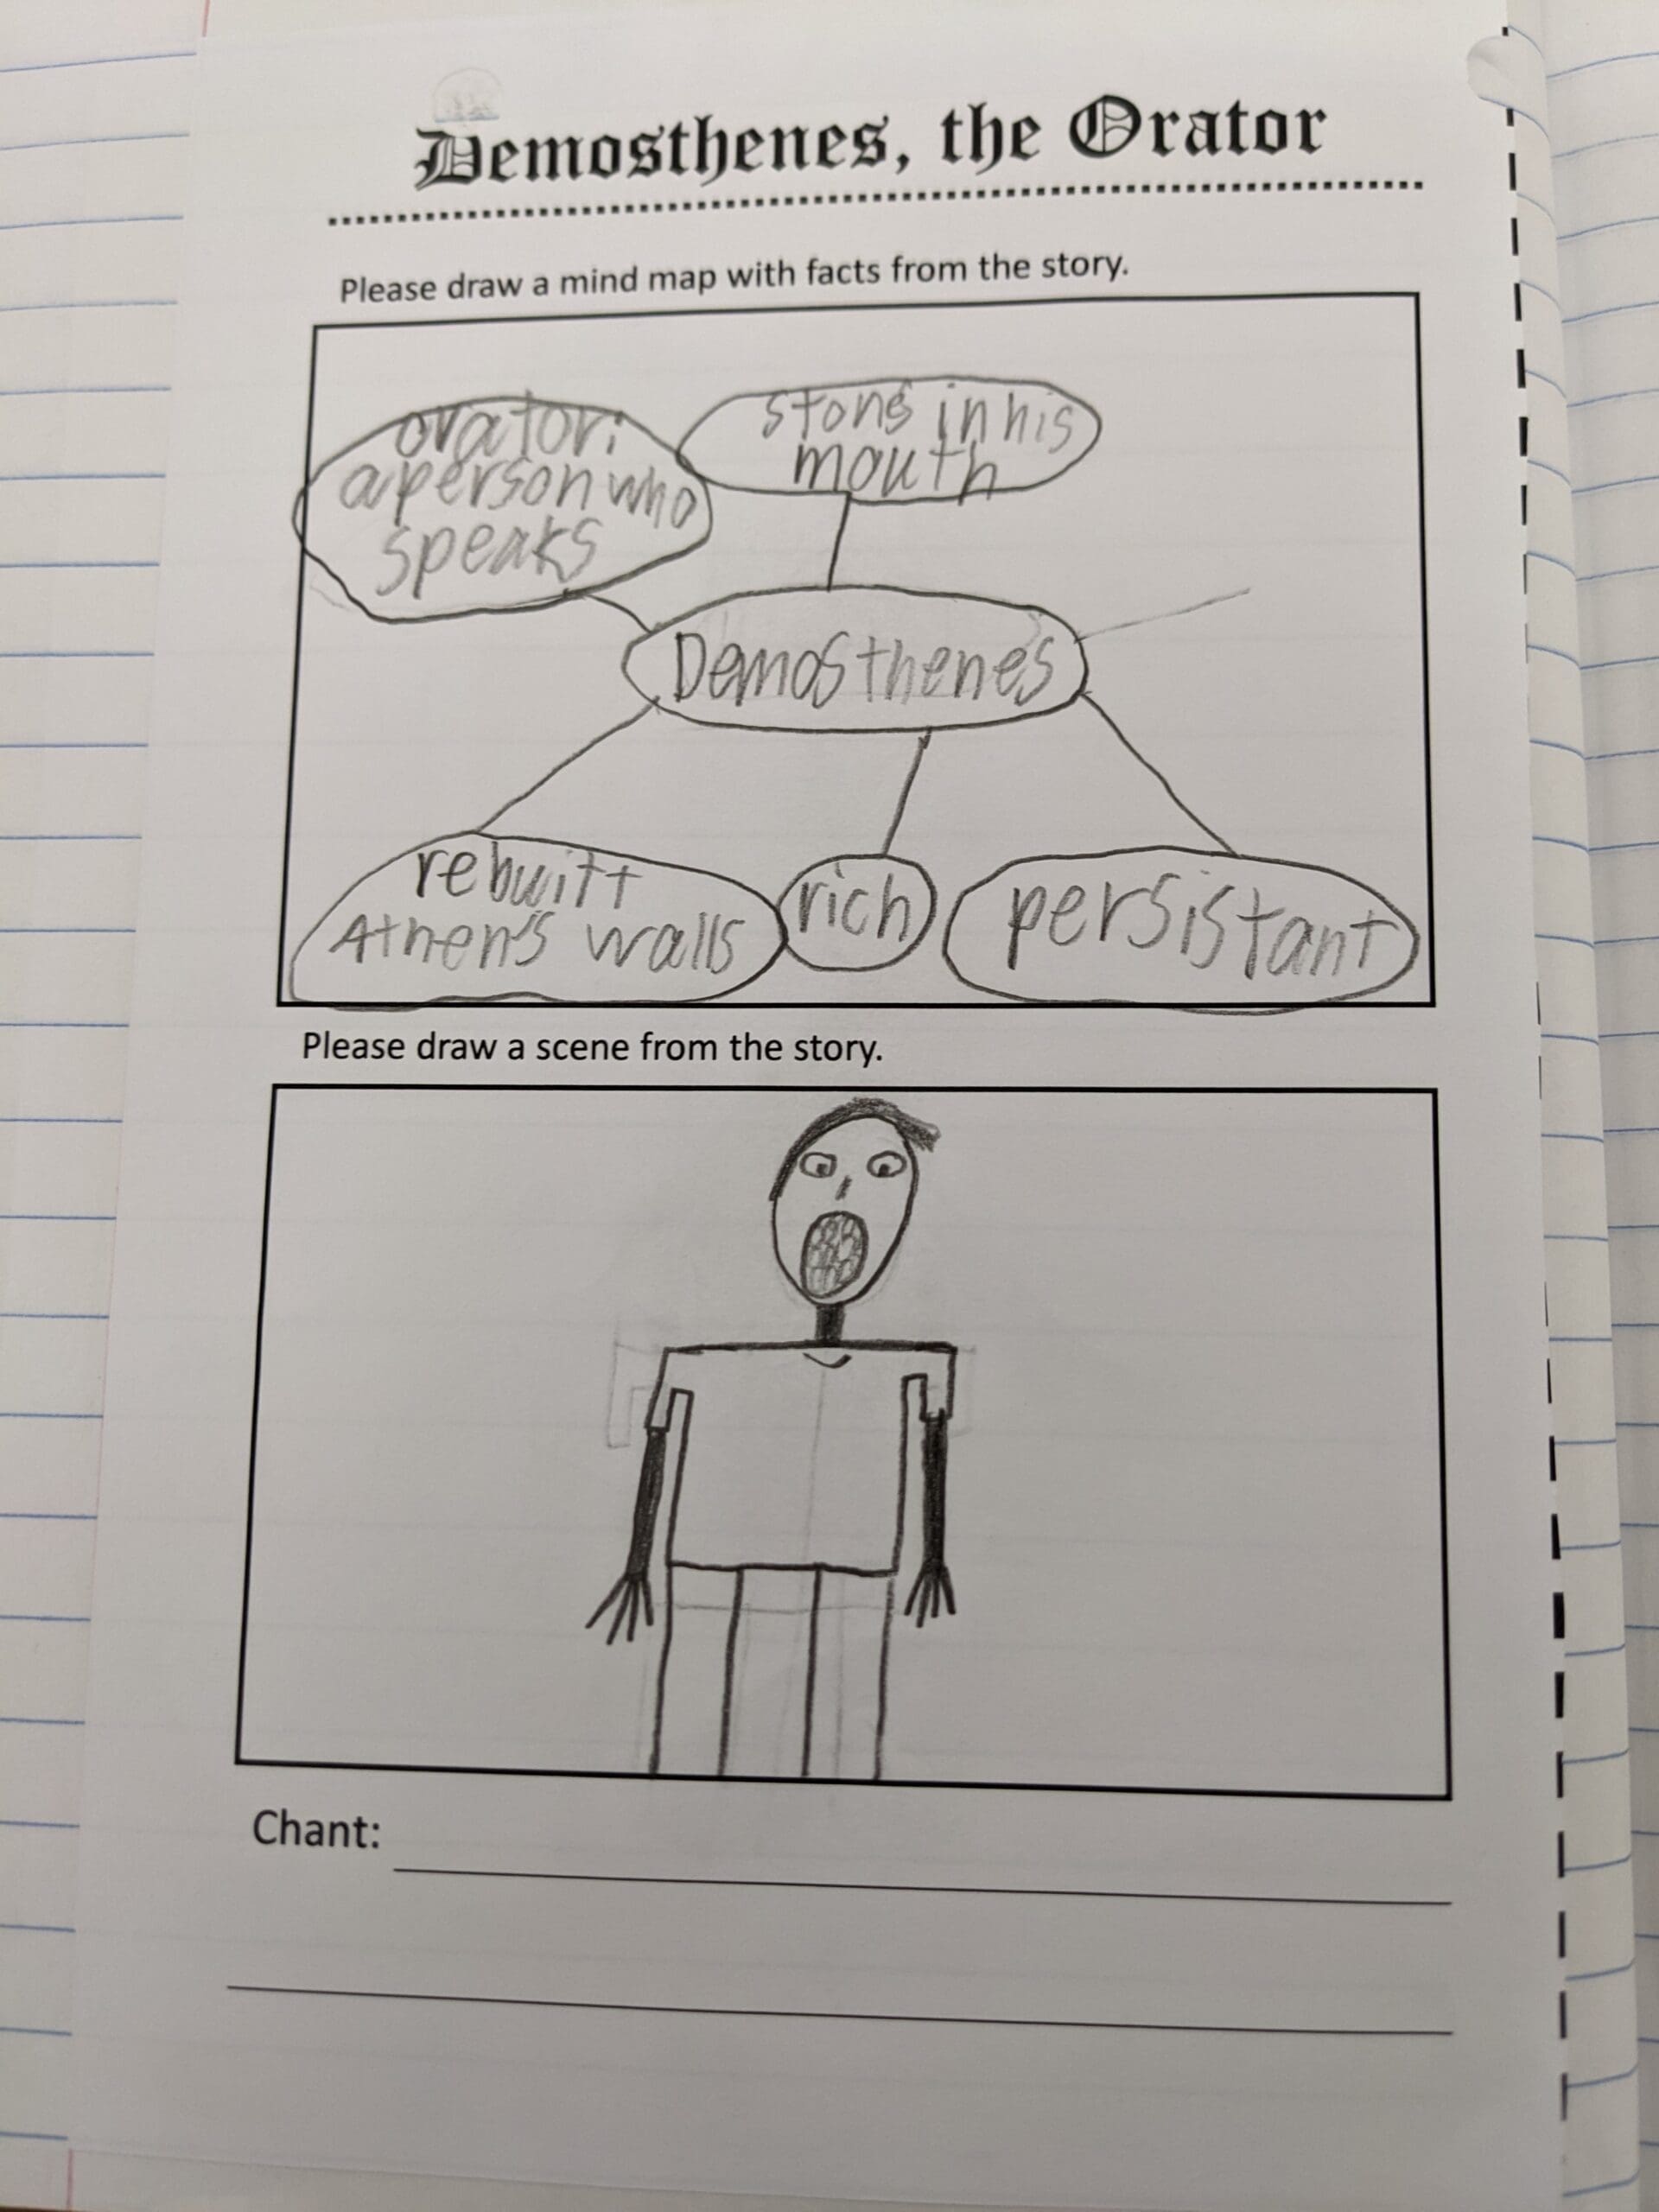
- The completed mind map should be glued into a dedicated notebook.
- Refer to the “How to Write a History Test Essay” document to guide students in using their mind maps to prepare for essay questions on tests.
The PowerPoint files included for most units provide material for extra enrichment and review. They are not required for teaching the curriculum, but are provided as an optional supplement. PowerPoint files will automatically download to your device’s default download folder when you click a PowerPoint link.
“Editable” test files are Microsoft Word documents (the standard test files are .pdf files). If you would like to add, remove, or change test questions, these files are provided to make that easier for you.
Mind maps or webs are a highly effective review method for Living History Threads (and other classes, too!). Mind maps help students identify the most important pieces of information in a story, and guide students in preparing for the essay questions on the tests.
How to use mind maps
-
We recommend taking a few minutes at the end of each class period to create a mind map to help reinforce the key content from the lesson. You could also take a take one or two breaks as you read the story to add pieces to your mind map.
-
Each student should have a blank mind map sheet – two versions included in the Student Notebook files below. We recommend using the version with illustrations whenever feasible, as this gives students an additional way to engage with the content they are learning. It often works well for students to draw a picture as they listen to the story.
-
Have students print the name of the key person or event from the day’s lesson on the dotted line at the top of the page (or type this before printing the page).
-
On your chalkboard or whiteboard, write the name of the main person or event from the lesson and draw a circle or cloud shape around it. Students should do the same on their mind map sheets.
-
Ask students to list key pieces of information about this person or event. Each fact should be written on the board around the main idea, circled, then connected to the main idea with a line. As you do this on the board, students should do the same on their mind map sheets. Information should be ordered sequentially, working clockwise around the main idea.
-
At the end of this activity, each student should have a cluster or web of information, as pictured below.
-
The completed mind map should be glued into a dedicated notebook.
-
Refer to the “How to Write a History Test Essay” document to guide students in using their mind maps to prepare for essay questions on tests.
- Renaissance Chant – Student
- Renaissance Review Sheet
- Renaissance Test
- Renaissance Test – Editable
- Renaissance – All the World’s a Stage
- Renaissance PowerPoint
- Concerto for 2 Violins in D Minor
- Jesu, Joy of Man’s Desiring (audio)
- Toccata and Fugue in D minor
- Brandenburg Concerto No. 2, Movement 1
- Brandenburg Concerto No. 2, Movement 2
- Brandenburg Concerto No. 2, Movement 3
- Songs by Bach (to sing)
-